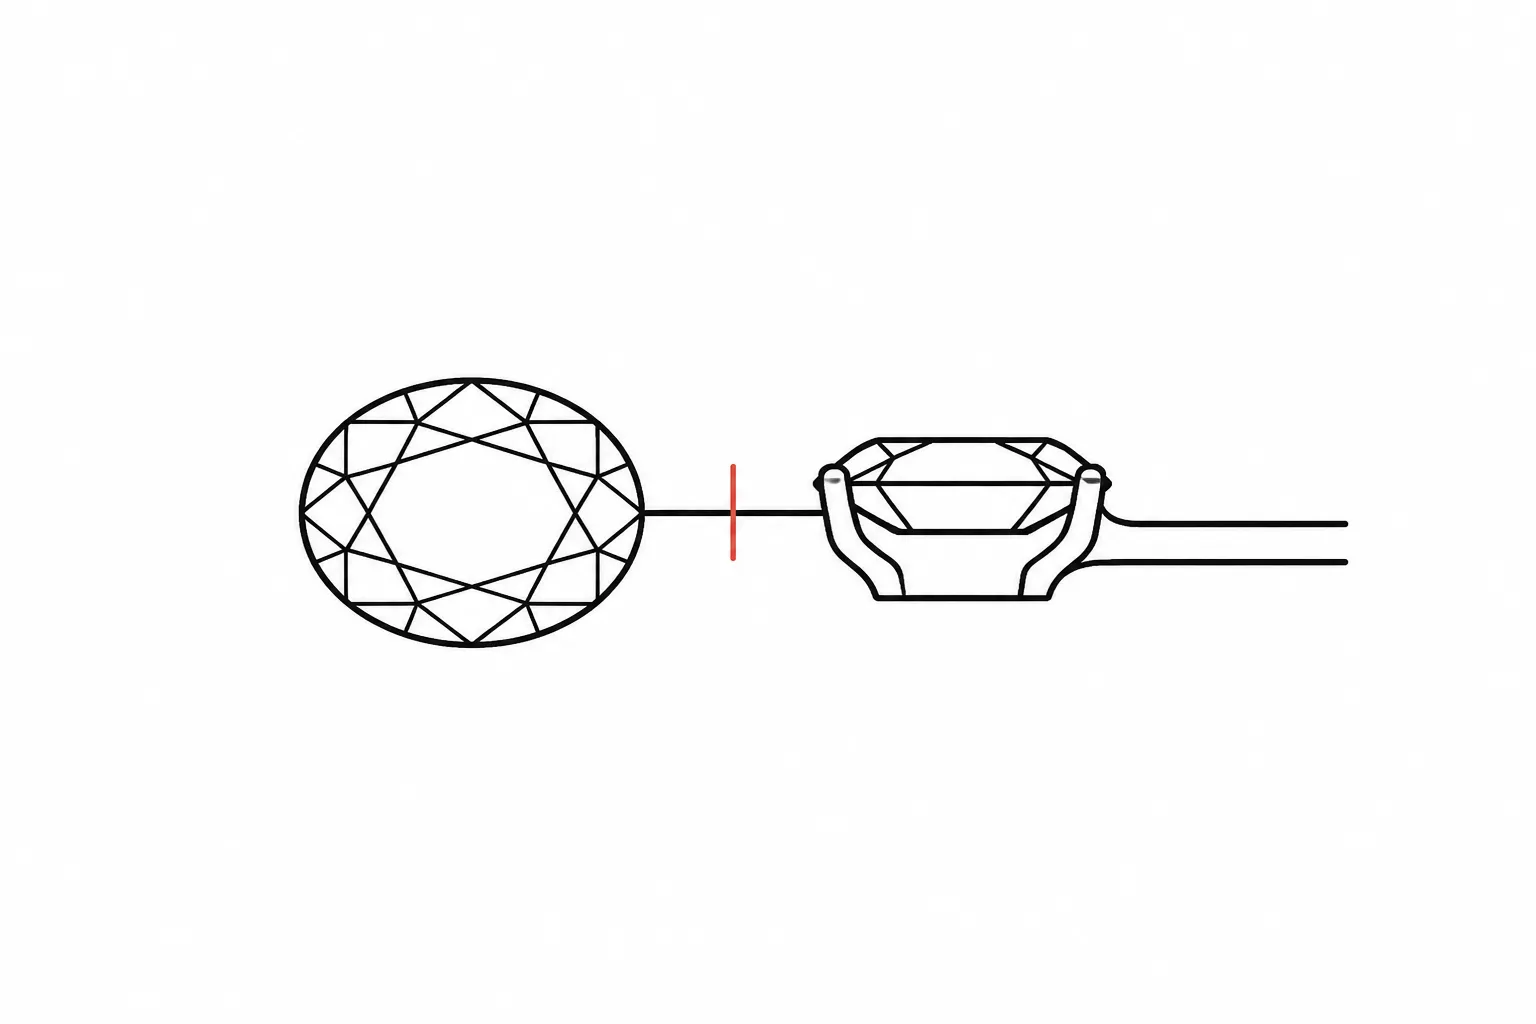
Annotate a Jewelry Reference Image for a Design Brief
To annotate a jewelry reference image for a design brief, record what the preview shows, label each interpretation or assumption, and assign every unresolved point to the person or record that must confirm it.
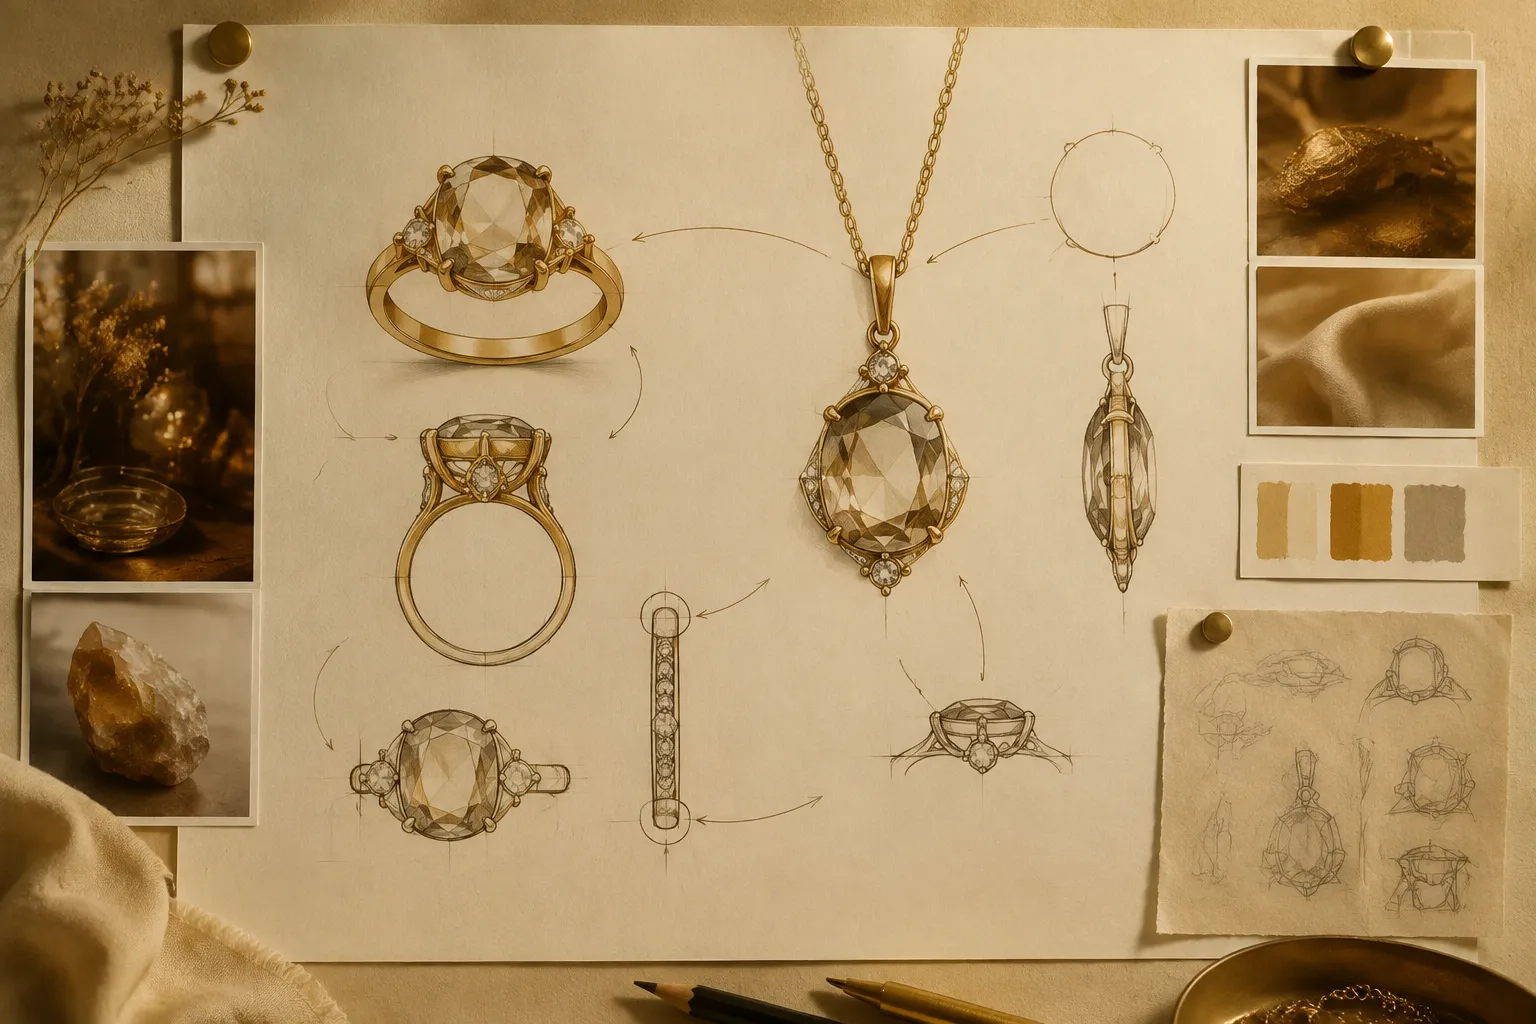
This turns a mood-board image into a reviewable handoff. The image can guide discussion of visible form, proportion, color relationships, setting cues, and finish direction. It cannot, by itself, confirm a gemstone, metal, exact dimension, price, availability, durability, fit, rights permission, or manufacturing feasibility.
Start With Visible Evidence
Open with image-based jewelry observations. Describe only what the supplied view supports, then note the consequence for the design brief.
- Jewelry type, if visible: ring, pendant, earring, bracelet, or necklace
- Overall silhouette and dominant outline
- Shape of a stone-like or central element
- Apparent setting cues, such as prongs, a bezel edge, a halo, or an open center
- Visible profile cues, including low, raised, narrow, broad, curved, or straight-sided areas
- Relative proportions between the central feature, surrounding structure, and shank or chain
- Surface pattern, texture, engraving-like detail, or apparent finish
- Hidden, cropped, blurred, shadowed, or uncertain areas
Observed: The preview shows a central oval-shaped element surrounded by a narrow outline and several small adjacent points. The side profile is not visible, so the setting height and gallery structure remain unresolved.
This sentence gives the next reviewer an observation, a design consequence, and a specific limit. “Modern pendant” or “delicate ring” may describe mood, but those labels do not identify a revision decision.
Use Four Annotation Labels
Keep each note tied to one status. A compact label system prevents interpretation from being mistaken for a recorded fact.
Observed
Use Observed for a feature directly visible in the image.
- Observed: The main outline appears round rather than elongated.
- Observed: The outer border looks continuous around the center.
- Observed: The lower band appears narrower than the upper feature.
- Observed: The surface reads as reflective in the available lighting.
Observed does not mean technically confirmed. A bright area may suggest a light-colored stone, but the image does not establish its identity or composition.
Interpreted
Use Interpreted when you translate an appearance into a design term or possible direction.
- Interpreted: The continuous edge could be a bezel-style visual cue.
- Interpreted: The surrounding points may suggest a halo arrangement.
- Interpreted: The dark center could result from lighting, contrast, or an intentionally dark material.
- Interpreted: The broad side structure could indicate a substantial shank.
Supplied Record
Use Supplied record only when a client note, source page, supplier document, image file, or rights record provides the information.
- Supplied record: The client note names a yellow-metal direction.
- Supplied record: The source page describes the item as a pendant.
- Supplied record: The brief states an assumed center length of 8 mm.
- Supplied record: The rights record identifies the permitted use of the reference.
Confirmation Required
Use Confirmation required for decisions that need measurement, sourcing, CAD development, quotation, rights review, or workshop assessment.
- Confirmation required: Confirm the intended stone shape and dimensions with the client or supplier.
- Confirmation required: Confirm the setting height and construction through CAD or workshop review.
- Confirmation required: Confirm metal, finish, availability, price, fit, and feasibility before presenting them as settled decisions.
Annotate Silhouette Before Detail
Trace the outer contour first. Then describe the internal features that affect the direction of the design.
- Rounded, angular, tapered, or irregular outline
- Symmetry or deliberate asymmetry
- Dominant central form and visual center of weight
- Repeated side elements
- Open or enclosed negative space
- Changes in width from top to bottom
- Connections between the main feature and the shank, gallery, chain, clasp, bail, or ear fitting
Observed: The pendant has a compact rounded outline with an open area below the central element.
Design consequence: Preserve the lower opening if the intended direction depends on visual lightness.
Confirmation required: Confirm the opening’s dimensions and whether the workshop can retain the intended clearance.
Add a Jewelry Profile Annotation
A front view rarely explains how a piece sits, connects, or rises from the body. Add a profile note when a side view exists. Otherwise, mark the missing view as an open design decision.
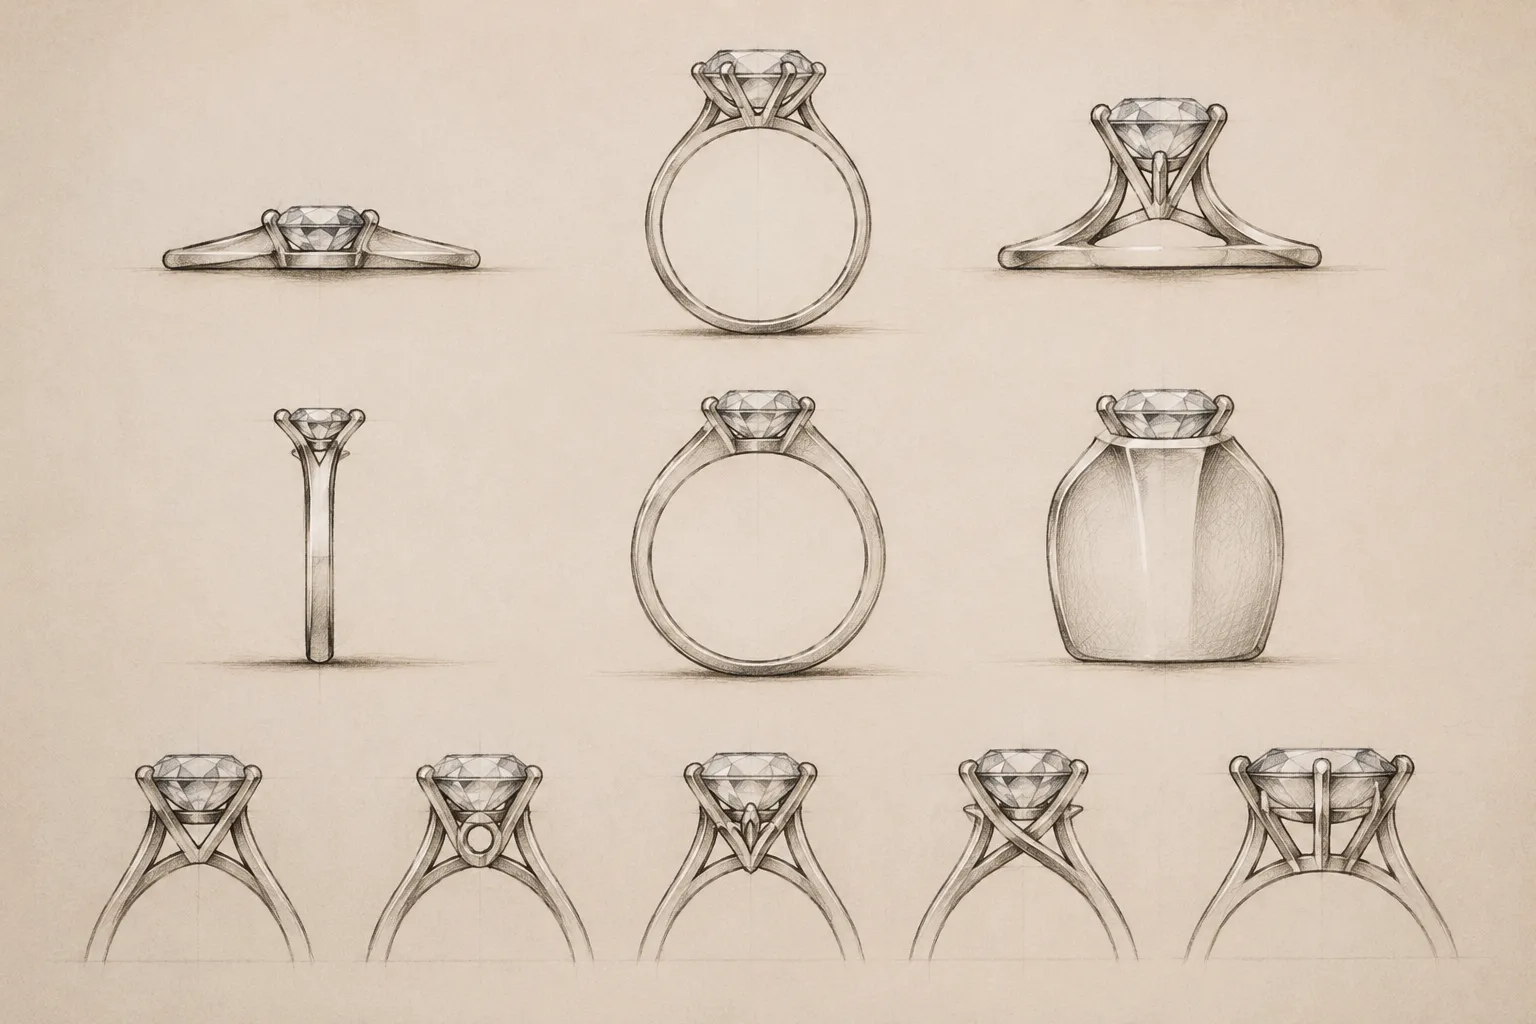
| Visual direction | What the image may suggest | Question for confirmation |
|---|---|---|
| Low profile | A shallow, close-to-surface appearance | What height and clearance are required? |
| Raised profile | A more elevated central feature | Does the intended setting require a taller gallery or support? |
| Narrow shank | Less visible metal around the finger | What width and thickness should CAD review? |
| Broad shank | A more substantial lower structure | Does the width change comfort, fit, or proportion? |
| Open gallery | Visible space beneath the center | Is the opening intentional, and how should it be constructed? |
A high-looking setting in a photograph does not establish its actual height, stability, or wear characteristics. When no profile exists, write: Confirmation required: Request a side view or mark the profile as unresolved before CAD development.
Record Stone Shape Without Claiming Identity
Stone shape annotations should describe geometry rather than composition, origin, quality, or authenticity.
Useful terms include round, oval, cushion-like, pear-shaped, marquise-like, rectangular, square, irregular, clustered, and repeated small elements.
Observed: The center appears elongated vertically with a pointed end toward the top.
Interpreted: The form suggests a pear-shaped direction.
Confirmation required: Confirm the intended stone shape, orientation, dimensions, and source.
Color, brilliance, reflections, and inclusions in an image do not establish gemstone identity. Record “light-colored center” or “dark red appearance” when that is all the preview supports. Treat names such as diamond, sapphire, or ruby as supplied descriptions until an appropriate record supports them.
Mark Setting and Finish Cues Carefully
Setting cues help a client and designer compare directions, but a single image may not reveal construction.
Prong, Bezel, and Halo Cues
Several narrow points around a central form could suggest a prong-setting direction. Count them only approximately when the view is cropped or reflective. A continuous border may suggest a bezel direction, but it could also be a decorative frame, shadow, or part of the central element.
A surrounding ring or cluster may suggest a halo. Record whether it appears continuous, segmented, evenly spaced, or irregular. The gallery, underside, clasp, bail, hinge, or ear fitting may remain hidden. Mark those omissions instead of filling them with assumed structure.
Revision note: Keep the continuous border in the concept preview, but label its construction as unresolved until a side or underside view is supplied.
Finish Direction
Describe finish only as a visual direction tied to surface behavior: mirror-like, softly reflective, brushed, satin-like, matte, textured, hammered, patterned, or darker in recesses.
Observed: The raised edges appear brighter than the recessed surface.
Interpreted: The concept may depend on contrast between a brighter edge and a less reflective field.
Confirmation required: Confirm the intended finish combination with the jeweler or workshop.
A bright highlight may come from lighting rather than polish. A dark recess may be a shadow rather than a deliberate treatment.
Add Scale Cues, Then Label Dimensions
A reference image can show relative size but usually cannot establish exact dimensions. Record comparisons such as “the center appears large relative to the band” or “the pendant appears short relative to its chain.”
If a measurement is supplied, preserve both its source and status:
Supplied record: The brief states an assumed center length of 8 mm.
Confirmation required: Confirm whether this is a target dimension, a measured reference, or an early estimate.
Do not infer scale from a hand, ear, finger, ruler, or photograph unless the reference includes a reliable scale record. Perspective, cropping, lens choice, and image editing can change apparent proportions.
Keep Rights Separate From Design Meaning
A reference image raises two separate questions: what visual information it provides, and what use of the image is permitted. Attribution alone does not settle permission.
Record the source, creator or rights holder when known, stated license terms, permission correspondence, intended use, and publication or revision date. If the record is incomplete, mark the rights status unresolved.
- Source record:
- Rights holder, if identified:
- Stated license or permission:
- Intended use:
- Publication or revision date:
- Rights question still open:
- Confirmation owner:
Revision note: Rights status unresolved. Retain the image for private discussion only until the source record or permission communication is reviewed. A reference may support consultation while requiring a separate rights decision for publication, marketing, or a public mood board.
Use a Short Assumption Register
Keep open decisions visible instead of allowing them to disappear into descriptive prose.
| Topic | Current note | Status | Confirmation owner |
|---|---|---|---|
| Metal | Yellow-metal appearance in the preview | Assumption | Client and supplier |
| Center element | Elongated light-colored form | Visual observation | Client and stone supplier |
| Setting | Continuous border may suggest a bezel cue | Interpretation | Designer and CAD specialist |
| Dimensions | Relative proportions only | Open | Designer and CAD specialist |
| Finish | Raised areas appear more reflective | Visual direction | Jeweler or workshop |
| Price and availability | No supporting record is attached | Open | Quotation owner and supplier |
| Feasibility | Not established by the reference image | Open | Workshop |
| Rights | Permission record is not attached | Open | Rights holder or project owner |
Worked Example: One Ring Reference
Suppose a ring image shows an elongated central form, a bright surrounding border, a tapered band, and no side view.
A note such as “oval gemstone ring with a bezel setting in polished gold” assigns a stone identity, construction, metal, and finish that the image may not establish.
Observed: The ring shows an elongated central form, a continuous-looking border, and a band that narrows toward the top.
Interpreted: The border could guide a bezel-style concept, while the tapered band creates a stronger visual focus at the center.
Assumption: The light color may indicate the intended stone direction, but identity and material are not established.
Unresolved: The side profile, gallery, setting height, underside, and exact proportions are not visible.
Confirmation required: Ask the client to confirm the stone shape and metal direction. Ask the CAD specialist or workshop to confirm profile, dimensions, support structure, and feasibility.
Turn Ambiguities Into Questions
Every unresolved visual ambiguity should become a question or requested revision, with an owner attached.
- Is the outer border intended as a bezel, halo, or decorative frame?
- Is the central form a stone, a metal element, or an editorial placeholder?
- Should the band remain tapered, or should its width change gradually?
- Is the dark area a finish direction or an image shadow?
- Should the piece read as low profile or raised profile?
- Which proportions must remain fixed in the next preview?
- Which features are references for mood only?
- What view is needed to evaluate the underside, gallery, clasp, bail, or ear fitting?
- Which dimensions are targets, and which are visual estimates?
- Does the source record cover the intended use of the image?
- Which material and availability details require supplier documentation?
- Which construction questions require CAD or workshop review?
A designer may resolve visual direction, while a supplier, CAD specialist, jeweler, workshop, or rights holder may need to resolve a different point.
Prepare the Handoff Note
End with the smallest useful decision record. State what to preserve, what to revise, what remains an assumption, and who confirms the next point.
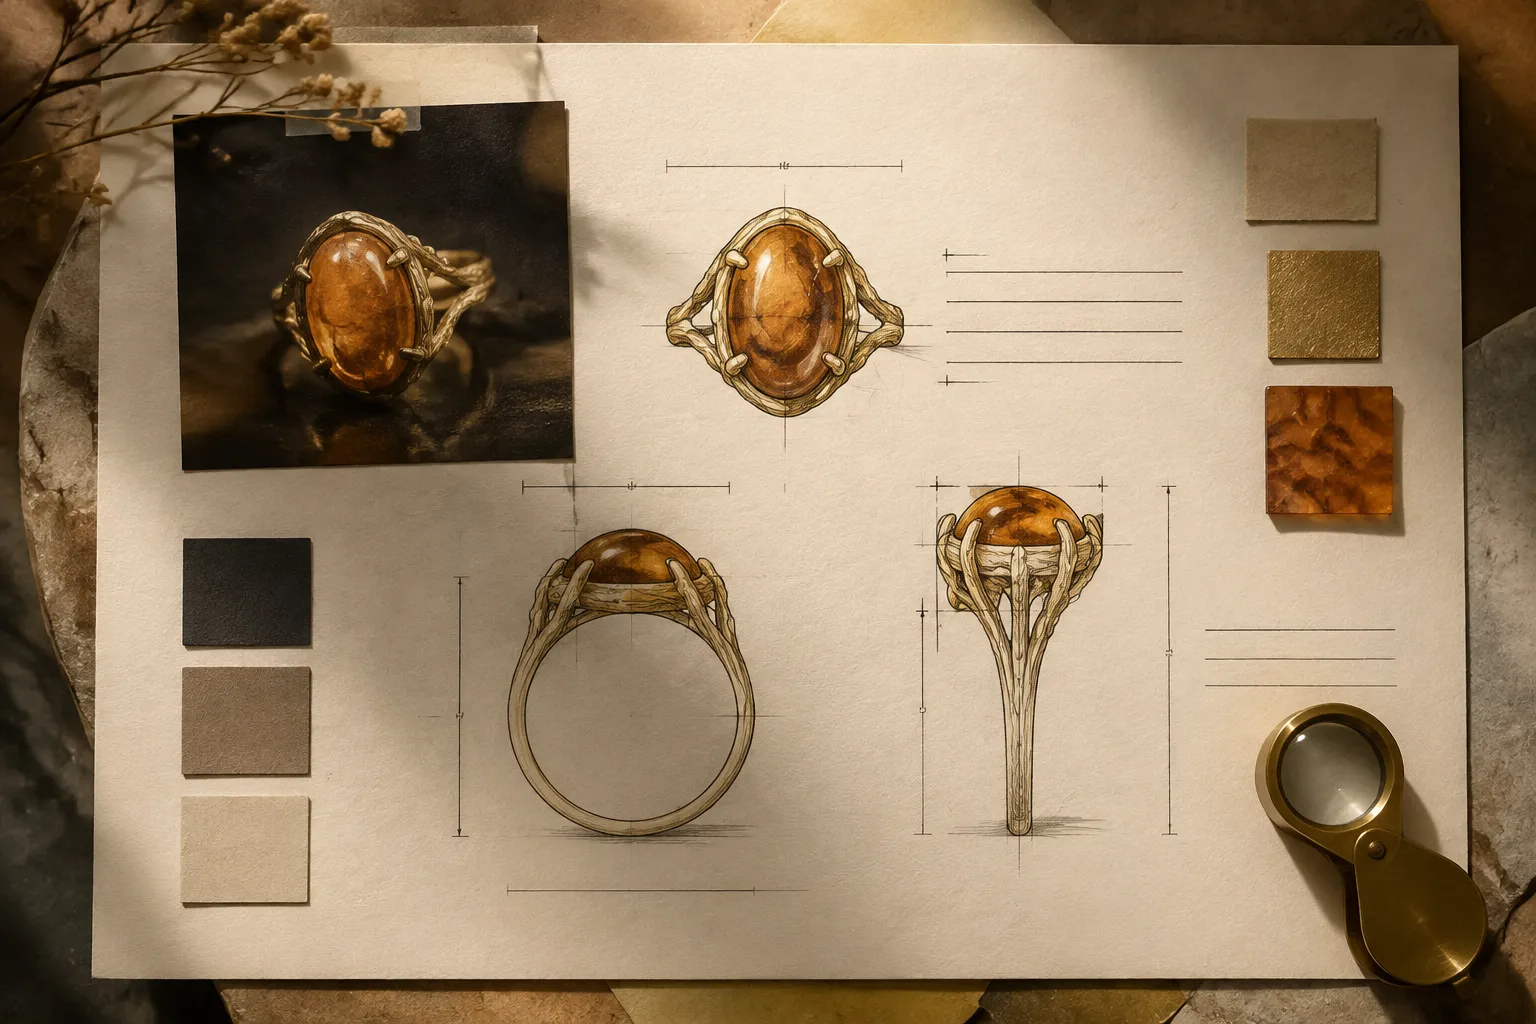
Preserve: The rounded silhouette, elongated center, and tapered band direction.
Revise: Add a side view and clarify whether the surrounding border is a setting cue or decorative frame.
Record: Keep metal, stone, finish, and dimensions labeled as assumptions unless supplied records support them.
Confirm: Ask the supplier about material and availability, the CAD specialist about proportions and profile, the workshop about construction feasibility, and the rights holder or project owner about image use.
Approval status: Concept direction only. The preview is not a final CAD drawing or workshop production document.
Attach the annotated image and unresolved question list together. The handoff is ready for the next review when each visible choice has a status and each open decision has an owner.
Sources
- Relatos de uma experiência na área de joalheria, ABNT desenho técnico- requisitos para apresentação gráfica de joias
- The challenge of the codification of tacit knowledge in designing and making: a case study of CAD systems in the Hong Kong jewellery industry
- Automatic Identification and Description of Jewelry Through Computer Vision and Neural Networks for Translators and Interpreters
- From Image to Imagination: Exploring the Impact of Generative AI on Cultural Translation in Jewelry Design